Vue normale

Il y a de nouveaux articles disponibles, cliquez pour rafraîchir la page.
Hier — 6 février 2026hackaday.com

Driving Sim Handbrake Based on Load Cell

6 février 2026 à 21:00

Simulator-style video games are designed to scale in complexity, allowing players to engage at anything from a casual level to highly detailed, realistic simulation. Microsoft Flight Simulator, for example, can be played with a keyboard and mouse, a controller, or a huge, expensive simulator designed to replicate a specific airplane in every detail. Driving simulators are similar, and [CNCDan] has been hard at work on his DIY immersive driving sim rig, with this hand brake as his latest addition.

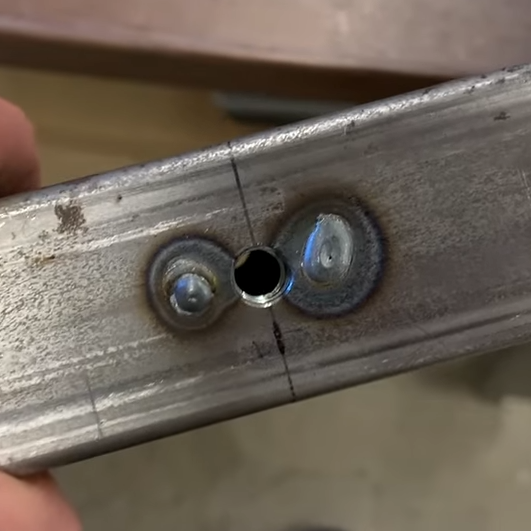
For this build, [CNCDan] is going with a lever-style handbrake which is common in motorsports like drifting and rallying. He has already built a set of custom pedals, so this design borrows heavily from them. That means that the sensor is a load cell, which takes input force from a lever connected to it with a spring mechanism. The signal is sent to an Arduino for processing, which is set up to send data over USB like any joystick or controller. In this case, he’s using an Arduino that was already handling inputs from his custom shifter, so he only needed to use another input and add some code to get his handbrake added into his sim.

[CNCDan] built a version of this out of laser-cut metal parts, but also has a fully 3D printable one available as well. Plenty of his other videos about his driving rig are available as well, from the pedal assembly we mentioned earlier to the force-feedback steering wheel. It’s an impressive set of hardware with a feel that replicates racing about as faithfully as a simulator could. Interestingly, we’ve also seen this process in reverse as well where a real car was used instead as a video game controller.

Aujourd’hui — 7 février 2026hackaday.com

Welding Nuts Inside Metal Tubes, Painlessly

Par : Donald Papp
7 février 2026 à 00:00

[Jer Schmidt] needed a way to put a lot of M8 bolts into a piece of square steel tubing, but just drilling and tapping threads into the thin steel wouldn’t be strong enough. So he figured out a way to reliably weld nuts to the inside of the tube, and his technique works even if the tube is long and the inside isn’t accessible.

Two smaller holes on either side. Weld through the holes. A little grinding results in a smooth top surface.

Essentially, one drills a hole for the bolt, plus two smaller holes on either side. Then one welds the nut to the tubing through those small holes, in a sort of plug weld. A little grinding is all it takes to smooth out the surface, and one is left with a strong threaded hole in a thin-walled tube, using little more than hardware store fasteners.

The technique doesn’t require access to the inside of the tube for the welding part, although getting the nut back there in the first place does require a simple helper tool the nut can slot into. [Jer] makes one with some scrap wood and a table saw, just to show it doesn’t need to be anything fancy.

Another way to put a threaded hole into thin material is to use a rivnut, or rivet nut (sometimes also used to put durable threads into 3D prints) but welding a plain old nut to the inside was far more aligned with what [Jer] needed, and doesn’t rely on any specialty parts or tools.

[Jer]’s upcoming project requires a lot of bolts all the way down long tubing, which is what got him into all of this. Watch it in action in the video below, because [Jer] has definitely worked out the kinks, and he steps through a lot of tips and tricks to make the process painless.

Thanks [paulvdh] for the tip!

❌
❌