Vue lecture

Il y a de nouveaux articles disponibles, cliquez pour rafraîchir la page.

When Clever Hardware Hacks Bite Back: A Password Keeper Device Autopsy

Sometimes you have this project idea in your mind that seems so simple and straightforward, and which feels just so right that you have to roll with it. Then, years later you stumble across the sad remnants of the tearful saga and the dismal failure that it portrays. Do you put it away again, like an unpleasant memory, or write it up in an article, as a tearful confession of past sins? After some coaxing by a friend, [Alessandro] worked up the courage to detail how he set about making a hardware-only password keeper, and why it failed.

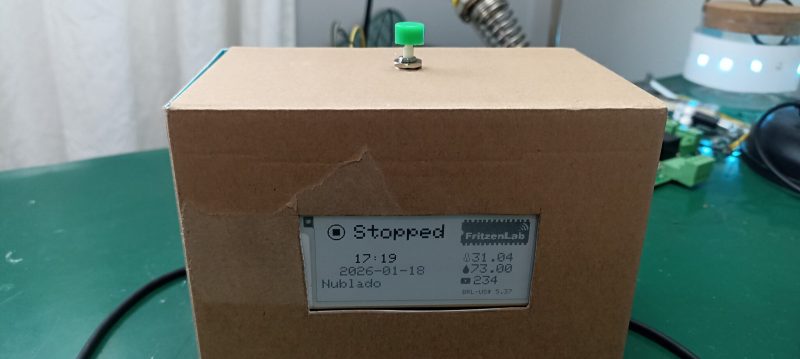
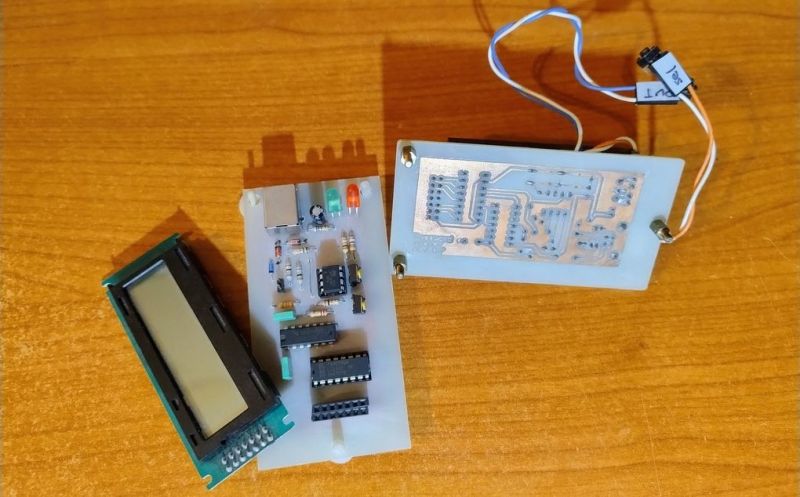
The idea was so simple: the device would pretend to be a keyboard and type the passwords for you. This is not that unusual, as hardware devices like the Mooltipass do something similar. Even better, it’d be constructed only out of parts lying around, including an ATtiny85 and an HD44780 display, with bit-banged USB connectivity.

Prototyping the hardware on a breadboard.

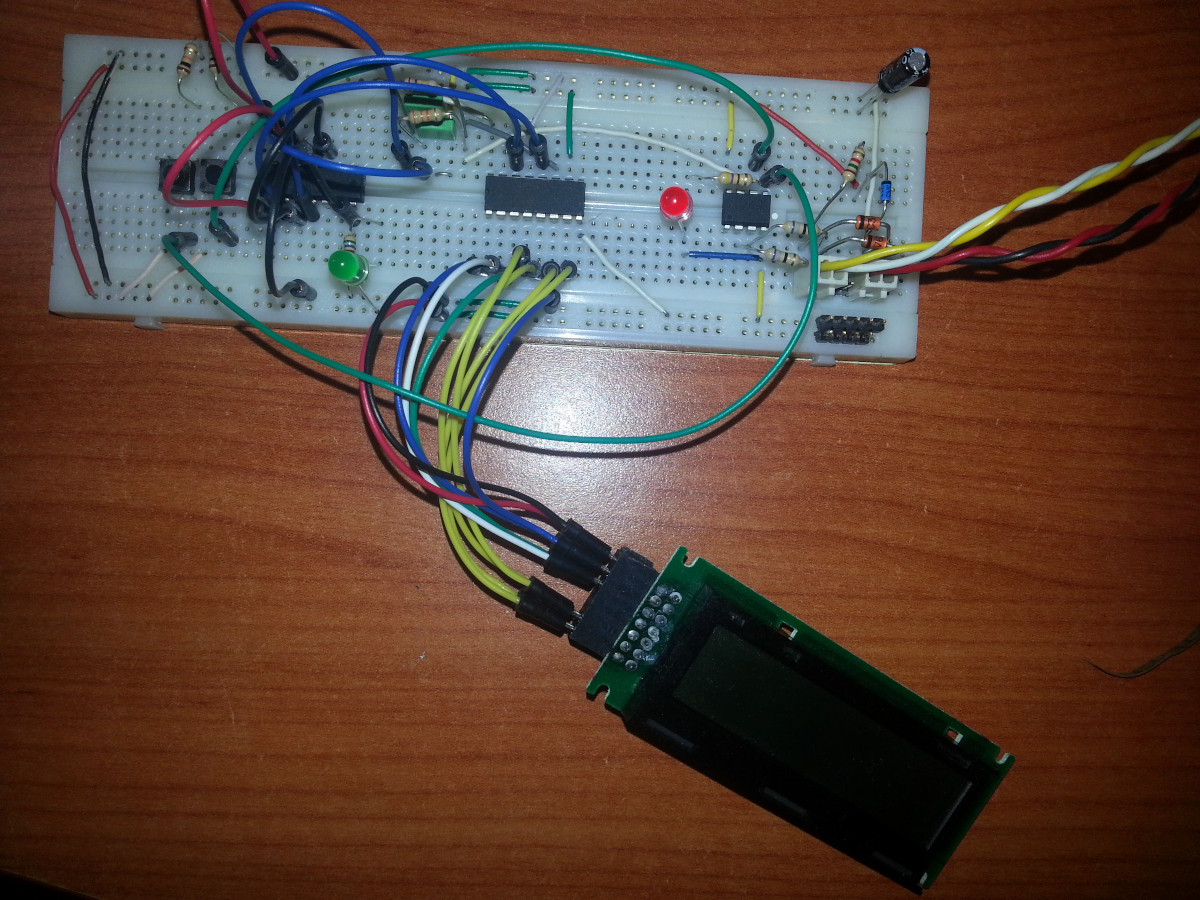
Overcoming the challenge of driving the LC display with one pin on the MCU required adding a 74HC595 demultiplexer and careful timing, which sort of worked when the stars aligned just right. Good enough, but what about adding new passwords?

This is where things quickly skidded off the tracks in the most slapstick way possible, as [Alessandro] solved the problem of USB keyboard HID devices being technically ‘output-only’, by abusing the indicator statuses for Caps Lock, Num Lock, and Scroll Lock. By driving these from the host PC in just the right way you can use them as a sort of serial protocol. This incidentally turned out to be the most reliable part of the project.

Where the project finally tripped and fell down the proverbial flight of stairs was when it came to making the bit-banged USB work reliably. As it turns out, USB is very unforgiving with its timing unlike PS/2, making for an infuriating user experience. After tossing the prototype hardware into a box, this is where the project gathered dust for the past years.

If you want to give it a try yourself, maybe using an MCU that has more GPIO and perhaps even a USB hardware peripheral like the STM32F103, ESP32-S3 or something fruit-flavored, you can take a gander at the project files in the GitHub repository.

We’re always happy to see projects that (ab)use the Lock status indicators, it’s always been one of our favorite keyboard hacks.

A Simple Desktop Pomodoro Timer

Pomodoro timers are a simple productivity tool. They help you work in dedicated chunks of time, usually 25 minutes in a sitting, before taking a short break and then beginning again. [Clovis Fritzen] built just such a timer of his own, and added a few bonus features to fill out its functionality.

The timer is based around the popular ESP32-S2 microcontroller, which has the benefit of onboard WiFi connectivity. This allows the project to query the Internet for things like time and date updates via NTP, as well as weather conditions, and the value of the Brazilian Real versus the American dollar. The microcontroller is paired with an SHT21 sensor for displaying temperature and humidity in the immediate environment, and an e-paper display for showing timer status and other relevant information. A button on top of the device allows cycling between 15, 30, 45, and 60 minute Pomodoro cycles, and there’s a buzzer to audibly call time. It’s all wrapped up in a cardboard housing that somehow pairs rather nicely with the e-paper display aesthetic.

If Pomodoro is your chosen method of productivity hacking, a project like this could suit you very well. We’ve featured a few similar builds before, too.

555-Based Square-Wave and Triangle-Wave Function Generator Build for Beginners

The function generator circuit on a breadboard

Over on YouTube [Andrew Neal] has a Function Generator Build for Beginners.

This is the 555 circuit we are building taken from the datasheetAs beginner videos go this one is fairly comprehensive. [Andrew] shows us how to build a square-wave generator on a breadboard using a 555 timer, explaining how its internal flip-flop is controlled by added resistance and capacitance to become a relaxation oscillator. He shows how to couple a potentiometer to vary the frequency.

He then adds an integrator built from a TL082 dual op amp to convert the circuit to a triangle-wave generator, using its second op amp to build a binary inverter. He notes that a binary inverter is usually implemented with a comparator, but he uses the op amp because it was spare and could be put to good use. Again, potentiometers are added for frequency control, in this case a 1 MΩ pot for coarse control and a 10 kΩ pot for fine control. He ends with a challenge to the viewer: how can this circuit be modified to be a sine-wave generator? Sound off in the comments if you have some ideas!

If you’re interested to know more about function generators check out A Function Generator From The Past and Budget Brilliance: DHO800 Function Generator.

Upgrading An Old Macbook With an Old Processor

The Core Duo processor from Intel may not have been the first multi-core processor available to consumers, but it was arguably the one that brought it to the masses. Unfortunately, the first Core Duo chips were limited to 32-bit at a time when the industry was shifting toward 64-bit. The Core 2 Duo eventually filled this gap, and [dosdude1] recently completed an upgrade to a Macbook Pro that he had always wanted to do by replacing the Core Duo processor it had originally with a Core 2 Duo from a dead motherboard.

The upgrade does require a bit more tooling than many of us may have access too, but the process isn’t completely out of reach, and centers around desoldering the donor processor and making sure the new motherboard gets heated appropriately when removing the old chip and installing the new one. These motherboards had an issue of moisture ingress which adds a pre-heating step that had been the cause of [dosdude1]’s failures in previous attempts. But with the new chip cleaned up, prepared with solder balls, and placed on the new motherboard it was ready to solder into its new home.

Upon booting the upgraded machine, the only hiccup seemed to be that the system isn’t correctly identifying the clock speed. A firmware update solved this problem, though, and the machine is ready for use. For those who may be wondering why one would do something like this given the obsolete hardware, we’d note that beyond the satisfaction of doing it for its own sake these older Macbooks are among the few machines that can run free and open firmware, and also that Macbooks that are a decade or older can easily make excellent Linux machines even given their hardware limitations.

❌